When using Windows, open the installer by double-clicking, and follow the wizard through the steps. It usually works best to install to the default directory. If you want to install different versions of the software, you can install to different directories, but you'll need to manually adjust the desktop icon and menu items that start the software.
When using a Macintosh, double-click to open the .dmg file and drag the icon to a location of your choice (typically Applications or the Desktop).
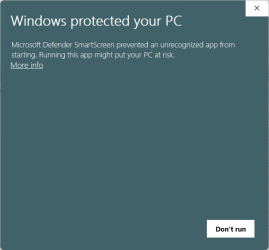
Microsoft has recently changed the way that it handles installers so that even though our installers are code signed with an Extended Validation Certificate it will still sometimes display a dialog that suggests there is something wrong with the installer. If you see this dialog:
Click on More Info then in the next dialog:
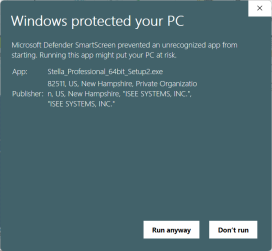
Click on Run Anyway. The installer should be signed by ISEE SYSTEMS, INC. the garbled presentation of this information notwithstanding. The Actual install window will show the correct license information and you can also get this information by right-clicking on the installer and selecting Properties then clicking on the digital signature tab.
The installer itself will let you choose whether to install for all users or only yourself. If you install for all users content will go to the program files directory. If you install just for yourself it will be installed to your local programs directory. The software will work the same independent of where you install it.
The software will need to be activated prior to its first use. This is typically a very simple process. When the software starts, you'll be prompted to enter a registration number.
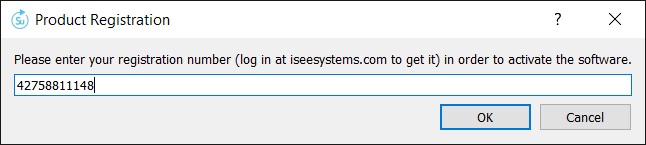
You can get your registration number by logging into your account at iseesystems.com and looking at your software purchases. After you enter the number and press OK, the software will contact our license service in order to activate the software.
If you run into trouble activating the software because of connectivity issues, see the Registration dialog box for ways to complete your registration via a web browser.
Note If you are installing a lab pack you will need to use a different process to activate the software. See Lab Packs for details.
You can start the software by double clicking on its icon, selecting it from the program menu (Windows), double clicking on a model, or dragging a model onto the program icon.
The first time you start the software you will be prompted to set the Default Options.