Laying out model pages
Laying out your model in pages model allows your model's users to more easily navigate and view your model. By laying the model out in pages, you can break the model views into numbered pages that indicate the order in which model users should view sections of the model. In addition, when you lay your model out in pages, you can print the model and have the printed output be organized in the way you wish.
You can lay out pages separately for the Map/Model and the Interface layers. This allows you to set different page sizes depending on the needs your have for each layer (navigation vs. printing).
If you are planning on printing the model, you may want to lay out the pages for the Map/Model layer before you start building the model so that you can set up the correct page size for your printer and build the model within those pages. At minimum, you should show the pages so that you can take them into account while you build.
If you are laying out pages on the Interface layer to assist model users in navigation, you may want to wait to lay out the Interface layer until have you have built and tested your model.
Note: If you will be publishing your model with isee NetSim or are saving the model so that it can be used with isee Runtime, you need to take special care when laying out model pages. For more details, see Page design for isee NetSim and isee Runtime.
To lay out model pages on the Interface layer
- Open the model for which you want to lay out pages.
- Go to the Interface layer.
-
From the Interface menu, choose Interface Prefs.
The Interface Preferences dialog box opens.
- To display pages on the Interface layer, select the Show Pages check box.
- Use the Width and Height boxes to specify the size of the Interface layer in pages. For example, to divide the Interface layer into two pages across, type 2 in the Width box and 1 in the Height box. The Total Pages value updates to indicate the total number of pages you've specified.
-
Click the Page Size button.
The Page Size and Runtime Options dialog box opens.
Use the options in this dialog box to select the page size, home page, and other page size-related options.
- When you are finished selecting page size options, click OK to close the Page Size and Runtime Options dialog box.
-
Click OK to close the Interface Preferences dialog box.
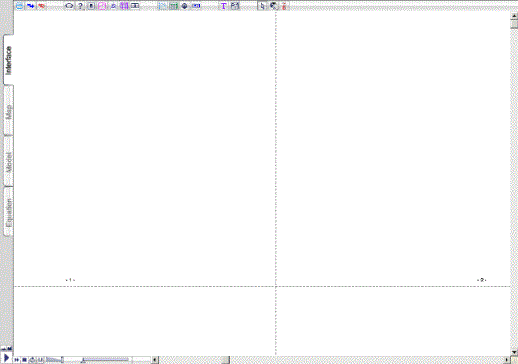
The Interface layer now shows dashed lines that indicate the boundaries of the pages you specified.

-
Create and/or arrange interface objects on the pages. When you define navigation buttons, you can specify camera, return, or page navigation (previous page, next page, and home page). For more information about
defining navigation buttons, see Defining navigation buttons.
Tip: To easily move many objects at once, zoom out from the model and then use drag-select to select multiple objects at once, then drag one selected object to move them all the same direction and distance.
Note that pinned table and graph pads will not move.
To lay out model pages on the Map/Model layer
-
From the Model menu, choose Model Prefs.
The Model Preferences dialog box opens.
- To display pages on the Model layer, select the Show Pages check box.
- Use the Width and Height boxes to specify the size of the Model layer in pages.
- Click OK.
- Create or arrange your model on the Model layer pages.
 See Also

 See Also