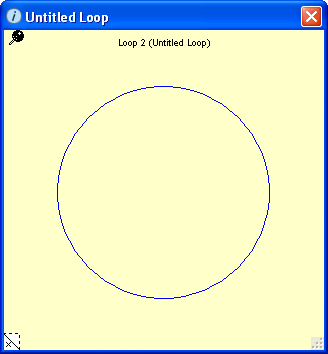
The loop pad allows you to easily create a loop diagram based on the underlying structure of your model. Loop diagrams are simple pictures on the Interface layer that identify the cause-and-effect processes (feedback loops) that work to generate dynamic behavior patterns.

You define loops by selecting the stocks in the your model that are part of the loops you want to illustrate, and then selecting the specific loops to display on the pad. If you want to illustrate more than one loop, you can put each different loop on a separate page in the pad.
After you define the loops for the pad, model users can view the loops in the Loop Pad window.
Note: You can add a loop pad only on the Interface layer.
 tool.
tool.Click the diagram to place the loop pad.
The Loop Pad window opens and displays an undefined loop.

To define one or more loops for the pad, double-click the Loop Pad window, or right-click the window and then choose Open from the menu that appears.
The Define Loop Object dialog box opens.
Use the options in the Define Loop Object dialog box to define one or more loops.
For more information about defining loops, see To define a loop (below).
For more information about placing, naming, and turning pages in, and other actions involving loop pads, see Working with pads
Open the Define Loop Object dialog box for the loop pad you want to define (double-click the Loop Pad window, or right-click the window and then choose Open from the menu that appears).
The "Stocks" list in the upper-right corner of the dialog box displays a list of all the stocks in the model.
Select the stocks that you want to include in the loop you are defining.
In the "Variable (Loop Number) list, select the loop that you want to display on the current page of the loop pad.
The entities included in the selected loop appear in the "Entities in Selected Loop" list.
To create another page so that you can display a second loop on the loop pad, click the New button.

Then repeat steps 2 - 4 to define the loop for the second page. For more information on creating and moving between pages, see Define Loop Object dialog box.
When you are finished defining loops for the loop pad, click OK.
The loop pad displays the last loop you displayed in the Define Loop Object dialog box.
You can now pin/unpin the loop pad, turn pages in the loop pad, or move, resize, or rename it. For more information, see Working with pads.