The navigation control allows you to set up a unified frame into which different pages of the interface can be presented to the user. From the user's perspective this means that there will be a single page with multiple tabs or sections, rather than a sequence of different pages.
The Navigation Control will almost always be placed on a template. (see Templates).
To place a navigation click on ![]() in the build toolbar and click at the location you want it to appear. When it is first laid down it will be blank. Add tabs or links to it using the panel.
in the build toolbar and click at the location you want it to appear. When it is first laid down it will be blank. Add tabs or links to it using the panel.
You can place a Navigation Control anywhere on the page but it will typically be near the top (perhaps under a title) or the bottom.
Click on the navigation control and the ![]() tab on the panel to change properties.
tab on the panel to change properties.
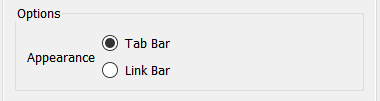
You can select to have the control appear as a Tab Bar ( ) or as a Link Bar (
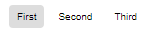 ). The Tab Bar selection includes a horizontal line, whereas the Link Bar selection does not. In both cases you simply click on one of the name to switch to the indicated page.
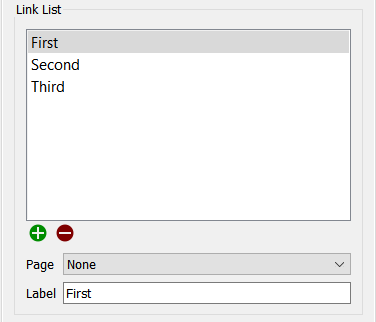
The link list includes the pages that the user will navigate to. You can select a page and provide a specific label, or just use the name of the page. To add a page click on the ![]() button and then select a page from the Page dropdown. To reorder the entries selected on in the list and drag it to its new position. To remove one from the list click on it to select it and then click on the
button and then select a page from the Page dropdown. To reorder the entries selected on in the list and drag it to its new position. To remove one from the list click on it to select it and then click on the ![]() button.
button.
Click on the navigation control and the ![]() tab on the panel to change properties.
tab on the panel to change properties.
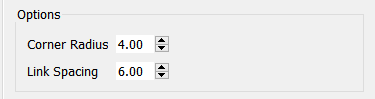
Corner Radius determines how rounded the links or tabs will appear. Use 0 for square, and a larger number to make them more rounded. For the link style the rounding is only visible on the selected link unless you have changed the background color (see below).
Link Spacing determines how many pixels separate the links or tabs.
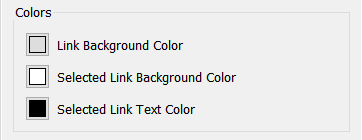
Link Background Color is the background color that is used for any links or tabs that are not selected. By default, this is gray for the tab style or white for the link style.
Selected Link Background Color is the background color that is used for the link or tab that is selected. By default, this is white for the tab style and gray for the link style.
Selected Link Text Color is the color of text that will be shown in the currently selected link or tab. You set the font in the text settings below (as well as the color of the text for the links or tabs not selected).
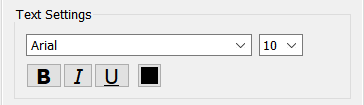
Set the font face, size, color and attributes for the text used in the links or tabs.
You can reset the styles to the defaults for the model. This will reset the font to the selected interface font for the model and everything else to the default values (including the choice of tabs or links).
The Navigation Control itself only operates on a single level of hierarchy. However, by including a main template with the top level Navigation Control, and multiple second level templates which use the main template, it is possible to effectively nest the controls. For example
TopTemplate is a template with a Navigation Control to go to page 1 or 4 labeled Section 1 and Section 2.
Section1Template is a template that uses TopTemplate and has a Navigation Control to go to pages 1, 2 or 3.
Section2Template is a template that uses TopTemplate and has a Navigation Control to go to pages 4, 5 or 6.
Pages 1, 2, and 3 use Section1Template.
Pages 4, 5, and 6 use Section2Template.
From the user's perspective there will be 2 sections, and within each section 3 pages.