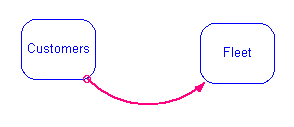
In a model that contains one or more modules, navigate into a module that contains an entity whose value will be output to another module. In the following example, the model contains two modules: Customers and Fleet.
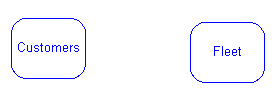
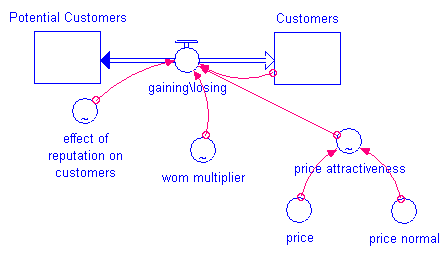
In this example, the Customers module contains a stock called "Customers" that will serve as an input to the Fleet module. We'll begin by navigating into the Customers module:
 .
.Click the center of the entity that will serve as a module input to another entity or module. The cursor changes to a small version of the ghosted building block's icon.
In this example, we'll be defining the "Customers" Stock as an input to the Fleet module, so we would click the center of the "Customers" Stock and the cursor changes to a small Stock icon.
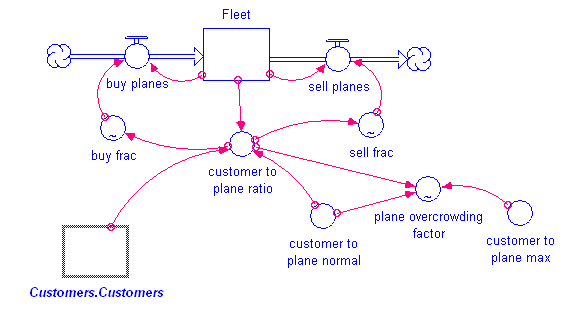
Click anywhere on the module diagram to place the ghosted entity. The ghosted entity appears and its name includes the name of the module that is providing the value. In our example, the ghosted entity is the "Customers.Customers" entity (that is, the "Customers" Stock from the Customers module):
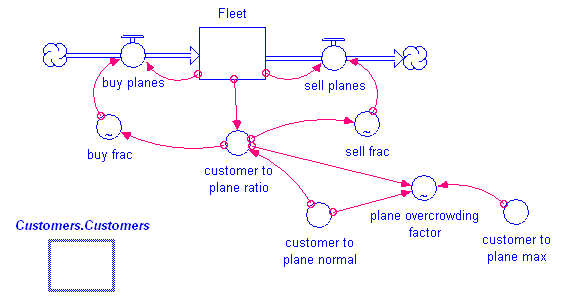
Use a connector to draw the connection between the new module input and the entity to which it provides an input value. In our example, we'll draw a connection between the new "Customers.Customers" entity and the "customer to plane ratio" converter:
If you right-click the "Customers.Customers" entity and choose the Module command, you will see that it has been automatically set to Accept Input. When you navigate back out of the module, you will see the connection between the modules has been automatically drawn:
If you navigate into the module that is providing the input value to the module (the Customers module in this example), right-click the entity that you ghosted into the other module, and choose the Module command, you will see that it has been automatically set to Provide Output.
 See Also